How Often Should Pressure Gauges Be Calibrated
10Learn How To Set Pressure Gauge Calibration Cycles Based On ASME B40.100, Risk Assessment, And Environments.
View detailsThe operation is not difficult: first dial the multimeter to the DC mA gear, and check whether the red probe is inserted into the mA hole . Disassemble the junction box of the transmitter, disconnect the wire on the positive pole, and then string the multimeter into the loop: the 24V DC power cord connected by the red probe and the positive terminal of the transmitter connected by the black probe. A transmitter in good condition and calibrated should accurately output 4.00mA at zero pressure and 20.00mA at full scale. If the multimeter shows 0mA, according to my experience, the loop is probably broken, or the fuse of the PLC/DCS input card is blown, or the power supply is completely hung up. If the reading is stuck below 3.8mA or above 20.5mA, the internal self-diagnosis of the transmitter is reminding you that the sensor module has a hard injury.

In our line of work, understanding the underlying logic of 4-20mA signals is a basic skill. When you make a series measurement as described above, you are actually turning the multimeter into a part of the circuit. This allows you to see with your own eyes how physical pressure is converted into electrical signals step by step.
Before touching the wire, confirm the setting of the pass epitope. At the scene, many people habitually took the meter and measured it. As a result, the red meter pen was still in the “voltage” hole and began to measure the current. This not only failed to measure the number, but also burned the fuse in the multimeter.
Once the connection is successful, the numbers on the screen are “talking” to you. For those conditions that require extremely high accuracy, such as using professional equipment from DY Instrument, you should be able to see a very perfect linear relationship.
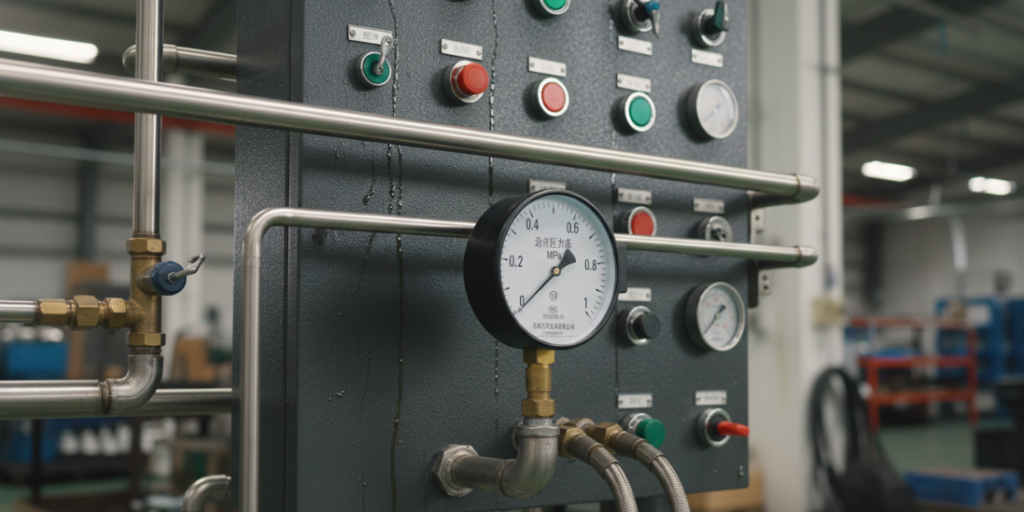
The vast majority of on-site problems cannot escape from these 3 pits. A multimeter measures one by one:
If you want to measure accurately, the tip of the watch must be clean and the terminal must be compacted. In the field with extremely high reliability requirements, I suggest to use high-quality sensors, such as those products from DY Instrument, which have good signal stability and strong anti-drift ability, which can make you run many times less.
Author: David Miller
Having spent my career troubleshooting complex process control systems in high-pressure environments, I specialize in 4-20mA loop diagnostics and sensor calibration. My mission is to bridge the gap between theoretical engineering and real-world field applications, providing technicians with the practical insights needed to minimize downtime and ensure the highest levels of instrument accuracy and reliability.

Learn How To Set Pressure Gauge Calibration Cycles Based On ASME B40.100, Risk Assessment, And Environments.
View details
Learn How Industrial Thermometers Work. Compare Thermocouples, RTDs, And Liquid Thermometers To Optimize Your Maintenance.
View details
Thinking Of Using An Air Pressure Gauge On Water Pipes? Learn Why This Leads To Failure, Corrosion, And Dangerous Water Hammer.
View details
Learn How To Read Pressure Gauges Accurately. Master Units, Zeroing, And Safety To Prevent Dangerous Errors.
View details
HelloPlease log in