How To Check If Pressure Gauge Is Working
1Learn 4 Essential Tests To Troubleshoot Pressure Gauge Failure And Ensure Accurate Industrial System Monitoring.
View detailsFor digital thermometers to achieve professional food safety and cooking accuracy, the ice point method is the most reliable standard in the industry.
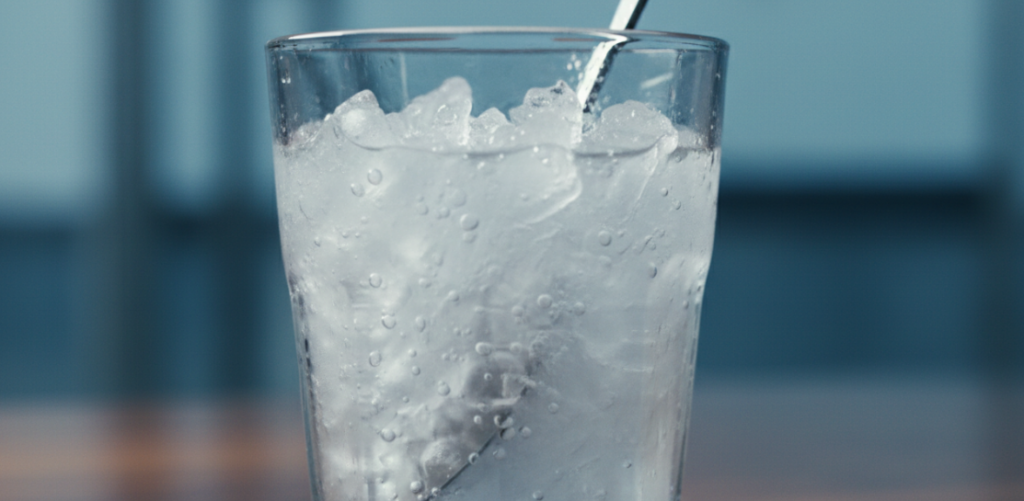
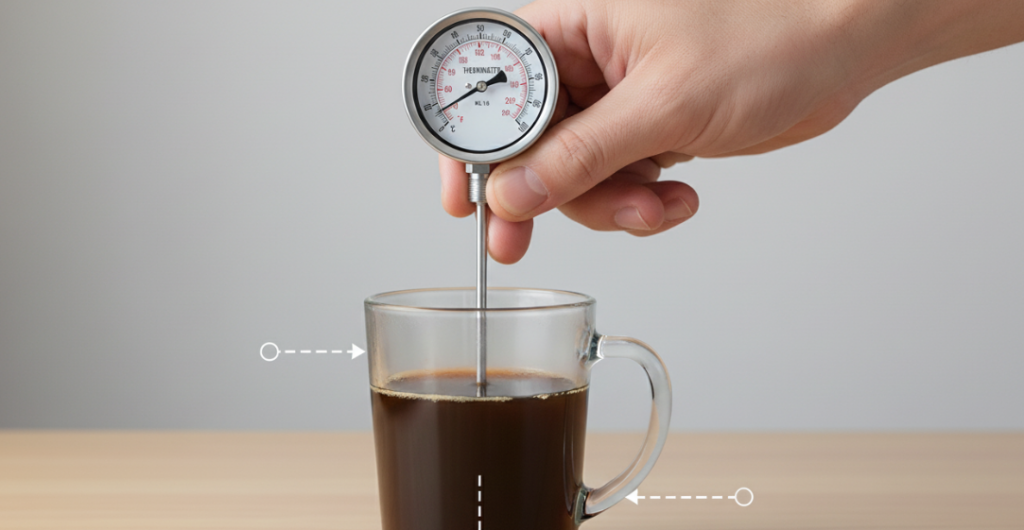
The specific method is: first prepare cup of crushed ice, add an appropriate amount of distilled water to fill the gap, but be careful not to add too much to make the ice float, what we want is the thick “ice-water mixture”. Insert the probe into the center of the mixture to a depth of at least 2 inches. Remember not to let the tip of the needle touch the bottom or wall of the cup. Gently stir and wait for the display value to stabilize (about 30 seconds). An accurate device should display 32 °F without a thunder. If the value is wrong, press the calibration key ; If the device does not have this key, you will have to take this error into account when measuring the temperature in the future. Finally, don’t forget to disinfect the probe needle. Hygiene and accuracy are equally important.
There are many ways to test thermometers, both top chefs and food safety inspectors prefer the freezing point method. The reason is simple: the boiling point method is affected by altitude and atmospheric pressure, and the variables are too large. At sea level or at high altitudes, the melting ice-water mixture is essentially stable at 32 °F. This is not only the lowest cost approach, but also the most robust calibration benchmark.
Before you start, I strongly suggest that you prepare these things:
The key to the success or failure of the calibration is the ice-water ratio. Fill the container with crushed ice and slowly add water. If you find ice starting to float in the water, add more water, pour out a little and add more ice. The probe must be tightly surrounded by ice for the reading to be accurate.
When inserting a thermometer, depth is crucial. Most digital sensors have a sensor at the tip of the needle, but you need a depth of immersion of at least 2 inches to counteract the temperature gradient. If you accidentally touch the container wall, the reading will soon deviate. Gently stirring can accelerate the temperature equalization, so that the value faster to the steady state.
look at the display after 30 seconds:
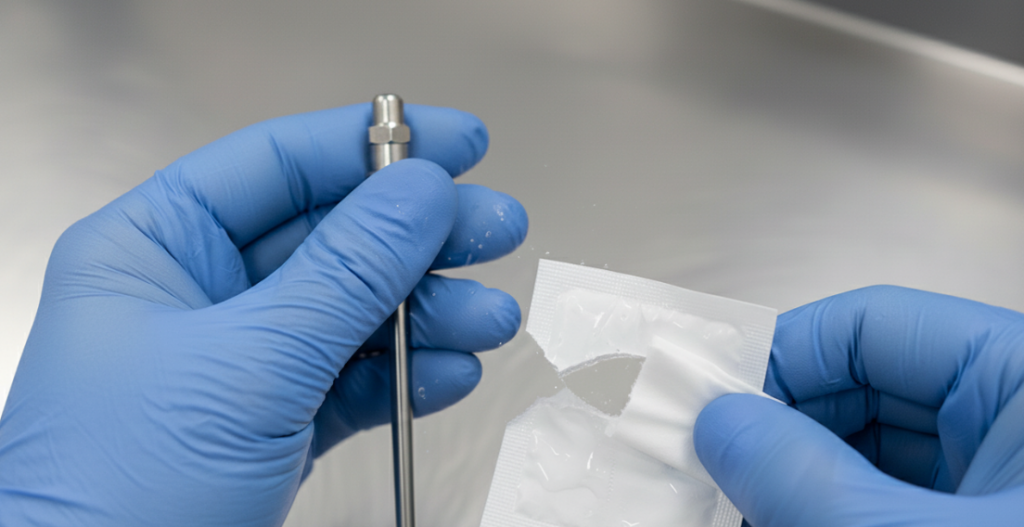
Calibration is maintenance work, but must not destroy hygiene. Because during operation, the probe needle may come into contact with tap water or other unclean surfaces. Before testing meat or dairy products, be sure to wipe times with alcohol cotton pads or food-grade disinfectant. Don’t end up overturning your car on cross-infection after half a day of precision.
You must recalibrate in the following situations:
Author: Marcus Mike
“Hi, I’ve learned that precision is the foundation of culinary excellence. I believe that professional-grade accuracy shouldn’t be a secret held only by executive chefs.When I’m not calibrating equipment or developing safety protocols, you’ll find me experimenting with sous-vide techniques where every degree counts.”

Learn 4 Essential Tests To Troubleshoot Pressure Gauge Failure And Ensure Accurate Industrial System Monitoring.
View details
HelloPlease log in