How To Calibrate A Metal Stem Thermometer
To calibrate metal-handled thermometers (especially bimetallic dial models) with professional accuracy, the industry recognizes that the safest and most reliable method is “freezing point method”.
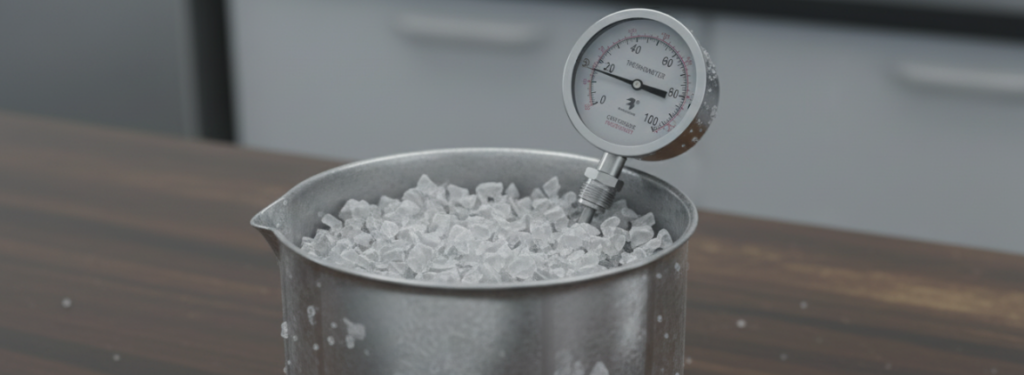
First, find a clean container and fill it with a mixture of crushed ice and cold water in a ratio of about 1:1 to make that crushed ice slurry, which can create an extremely stable 0°C environment. Insert the metal handle of the thermometer into the ice slurry at least 2 to 3 inches deep. Here’s a detail: make sure the “small indentation” on the probe (where the sensing element is located) is completely covered, and don’t let the probe touch the bottom or side walls of the container. Stir gently and wait about 30 seconds for the needle to stabilize completely. If the pointer does not point precisely on the 0°C scale, you will have to use mechanical adjustment: use a small wrench or the tool that comes with the thermometer cover to tighten the hexagonal adjusting nut under the dial, and slowly turn the watch head until the pointer and the 0°C line coincide perfectly. This precise fine-tuning is the only way to meet HACCP requirements and ensure ±2°F accuracy.
Why Is Precise Calibration Essential to Your Business?
Accuracy is the cornerstone of safety for professionals who trust DY Pressure Gauge’s high-quality instruments. Metal handle thermometers (often also called bimetallic dial thermometers) work on the principle of thermal expansion and contraction. However, under actual working conditions, mechanical shock, severe temperature difference fluctuations or long-term wear will cause the internal induction coil to physically shift.
Whether monitoring heating and ventilation systems (HVACs) in industrial environments or in food processing, even a few degrees of deviation can lead to product quality being compromised or even failing compliance reviews like HACCP (Hazard Analysis and Critical Control Points).
Freezing Point Method Step-By-Step Disassembly
While the process sounds simple, to achieve “lab-level” results, you have to look at these technical details:
Step 1. Modulate 50/50 ice slurry
The freezing point is not affected by altitude or atmospheric pressure; it is constant.
- Crushed ice must be used: Crushed ice has greater surface area contact than large ice cubes and can effectively prevent the appearance of “warm pockets” in the water (i.e. areas with locally high temperatures).
- Slurry consistency: Make sure there is no excess water at the bottom of the container, it should be a thick, sand-ice-like mixture.
Step 2. Finding the right sensing element
This is the most common mistake many novices make: they just stick the tip of the probe into the water. On most professional metal-handled thermometers, the sensing element is a small indentation extending from the tip to about 2 inches into the handle.
- Immersion Depth: You must be at least 2 to 3 inches below, making sure the entire induction coil is in a 0°C environment.
- Avoid interference: If the probe is directly on the ice or the wall of the container, the reading will definitely be biased due to the thermal conductivity of the container itself.
Step 3. Importance of the stabilization period
When it comes to measurement, patience is more important than technology. After insertion, gently agitate the ice slurry to ensure uniform temperature, then wait at least 30 seconds. High-quality, industrial-grade thermometers read back quickly, but if you’re too hasty, your adjustments might be wrong from the start.
How To Use Hex Nuts
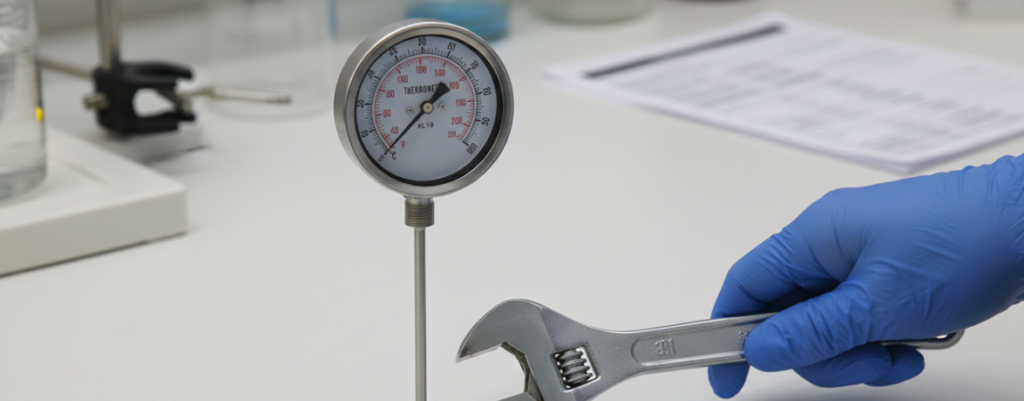
If your thermometer reading is indeed off, it will need to be physically reset. This is different from the software parameters for digital thermometer modification, it is a solid mechanical correction.
- Locator nut: That little metal hex just behind the dial.
- Conditioning process: The probe remains submerged in ice slurry without moving. Secure the nut with a wrench and turn the thermometer head left or right.
- Align the scale: Turn slowly until the pointer is aligned with the 0°C reticle as accurately as in OCD.
When Should You Calibrate Your Thermometer?
To meet the standards we consistently demand from DY Pressure Gauge customers, taking calibration checks be performed in the following situations:
- Before initial use: There is no guarantee that the factory calibration will not deviate during long-distance logistics turbulence.
- After the drop: Any noticeable mechanical shock may shake the bimetallic coil inside.
- Violent temperature fluctuations: If the thermometer has just switched from an extremely hot environment to an extremely cold environment.
- Routine compliance check: Even if there are no abnormalities, recommend checking at least once a month or strictly following your company’s QC/HACCP procedures.
Choose The Right Professional Tools For Reliable Results
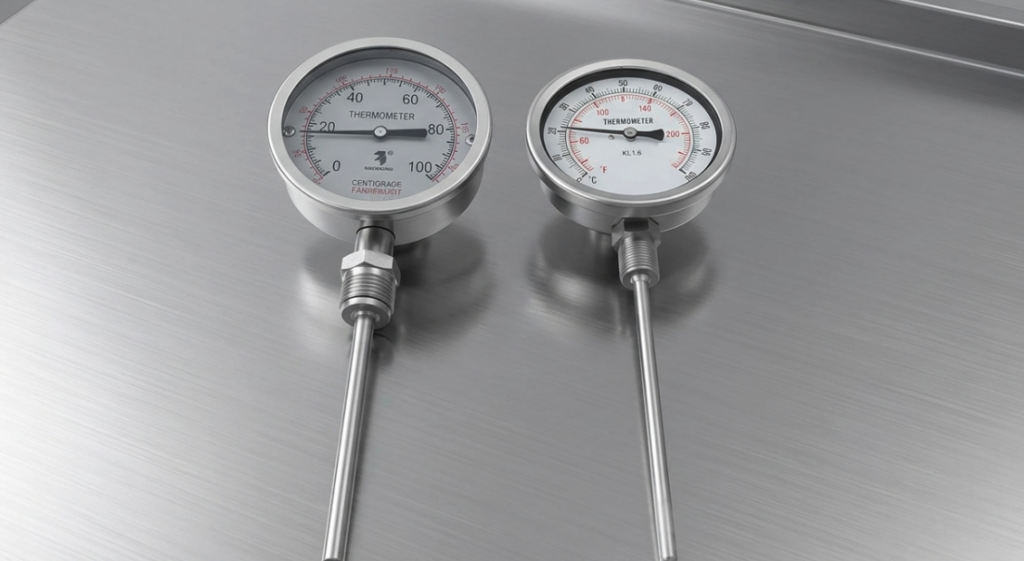
To speak from the heart, if you want to maintain the accuracy of ±2°F, the prerequisite is that the tool in your hand is of high quality. While calibration corrects for minor deviations, it cannot remedy a poor-quality or damaged sensor. In those industrial monitoring situations where precision and durability are extremely demanding, choosing a bimetallic thermometer with a stable structure is the first step to achieving operational excellence.
With this professional freezing point calibration method, you can ensure that the metal handle thermometer in your hand is always in quality control “stabilizing the sea”, which is both a protection of the brand’s reputation and a responsibility to consumer safety.
Author: Steve Young
“Hi, I’m a technical specialist with years of hands-on experience in industrial instrumentation. My mission is to bridge the gap between high-precision hardware and real-world operational excellence. Having worked extensively with HVAC systems and food safety protocols, I understand that accuracy isn’t just a number—it’s the foundation of professional integrity. I’m passionate about sharing practical maintenance insights to help professionals ensure their tools remain as reliable as the day they left the factory.”