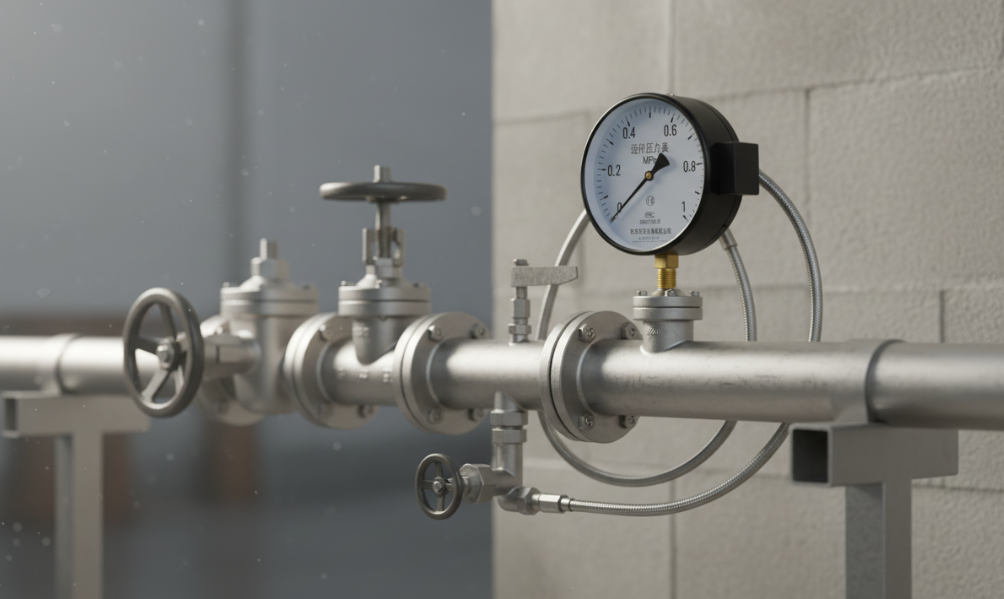
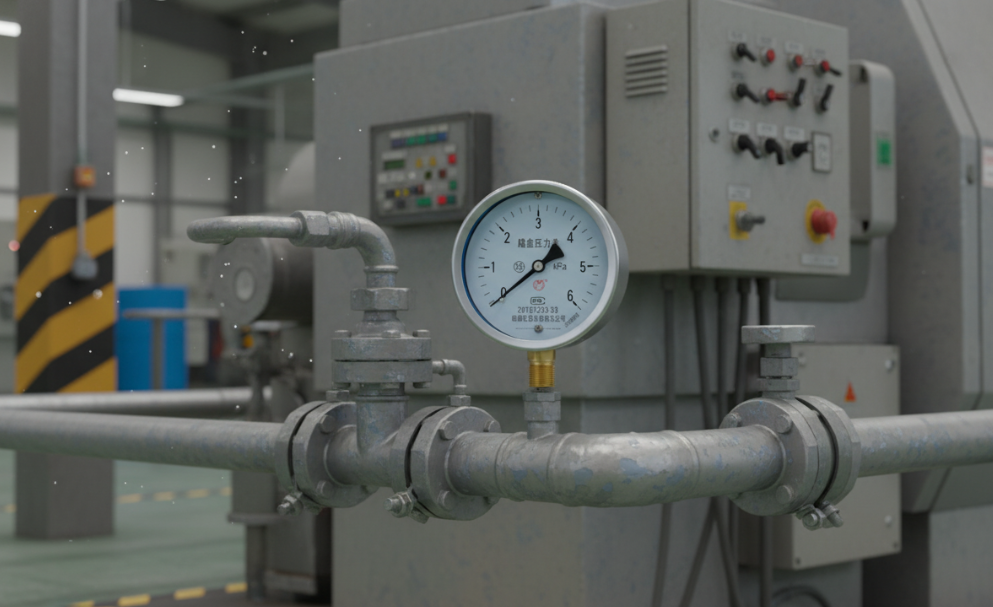
How To Replace Pressure Gauge
A broken pressure gauge is not just a broken dial, it has actually become a “blind spot” for your system safety. If you really want to change the gauge, don’t be frizzy. The difference between professional and amateur is in the details.
Step 1: System Isolation And Safety Pressure Relief
The most critical and most accident-prone step in changing a gauge is ensuring environmental safety.
You have to find the isolation valve first to shut it down and separate the pressure gauge from the main system line. Before closing the valve, you must observe the dial until the hands are completely zeroed (0 PSI/Bar). Many people just can’t wait for those few seconds, which results in high-pressure liquid jets injuring people. At that flow rate, the liquid can cut into the skin like a knife, and the internal injuries caused are very troublesome to deal with.
Step 2: Correct Disassembly Techniques
Once you have confirmed that the pressure has returned to zero, you can remove the old gauge. Many novices make a low-level mistake: just hold the round case and twist it vigorously. This is extremely easy to screw out the internal mechanism or simply break the gauge stem.
The correct way to do this is to find the “wrench position”—— that is the square or hexagonal spot at the bottom of the gauge stem. Take a properly sized adjustable wrench and tighten it counterclockwise. The force must be on the wrench position so that the instrument and mounting interface can be kept intact.
Step 3: Inspection And Thread Cleaning
Don’t rush to dress up a new one after the gauge is removed. Take a clean nonwoven fabric and wipe the internal threaded interface clean, and remove the old sealant, chips or metal scraps.
You have to take a close look at the manual at this time. Whether your system uses NPT (US standard pipe thread) or BSP (British standard pipe thread), as long as you find signs of slippage or corrosion on the interface, don’t install it yet, otherwise the new gauge will not be sealed.
Step 4: Select The Table And Seal The Thread
In order to save worry in the future, choosing a stainless steel pressure gauge, especially in that kind of harsh industrial site. The corrosion resistance is indeed not comparable to that of ordinary materials.
If you want the interface to be drip-free, you need to keep up with the sealing methods:
Raw material belt (PTFE): 2 to 3 turns in the thread direction (clockwise). Don’t go in the opposite direction, or the raw material belt will fall apart when you twist the gauge.
Or use thread sealant: It depends on the specific system specifications. In some high-pressure situations, sealant will be more stable.
Step 5: Professional Installation And Fastening
Insert the new gauge into the interface first and screw it in by hand first. This step is to find the thread accurately and prevent it from being hard-tightened directly with a wrench and causing “bite death” or threading.
If your hand can’t turn it, put the wrench on again to get the wrench position stuck, and finally add force to turn it 1 to 2 times. This force is usually enough to achieve a vacuum-level sealing effect. There is no need to work hard. Wringing out the joint or breaking the threads will only backfire.
Step 6: Final Verification And Leak Detection
The work is not over yet. When reopening the isolation valve, act slowly to allow the pressure to slowly rise. I have seen many new gauges that are directly “scrapped” due to the instantaneous impact of pressure, so it is correct to slow them down.
Finally, use the dumbest and most effective method: spray some soapy water on the joint. As long as it does not bubble, it means that the seal is tight and the system can be put into operation normally.
Author: Thomas Vance
“I’m a senior maintenance specialist with over 13 years of hands-on experience in the on-site repair of fluid power systems. Throughout my career, I’ve seen how minor oversights can lead to major safety risks. I firmly believe that the difference between a professional and an amateur lies in the details—treating every broken gauge not just as a faulty part, but as a critical safety ‘blind spot.’”